
I think the list idea actually worked! Or maybe it was the fact that I blogged my list for the public to see so I guilt myself into checking off a few items this weekend. Either way, something worked and I can now officially cross four items off of my list.
1. Move old pantry cabinet to my parent’s house

This was easy. My parents had already offered to take our old pantry cabinet that was still in good shape, and after reminding them of it last night at dinner they happily stopped by to pick it up this afternoon along with our clothes rack that we no longer needed from our laundry room. Thanks, Mom and Dad!
2. Spruce up bookshelf in living room
I’ve been meaning to do something to the back of the bookshelf in the living room ever since I added fabric to the bookshelf in our dining room last Fall. I had purchased this pair of Billy bookshelves at IKEA at few years back. Just making a few minor adjustments can turn a big-box store item into something a little more special. The basic white handles were replaced with clearance hardware from Anthropolgie, and I added leftover fabric from the dining room roman shade to the back of the bookshelf.

Before

After
This went pretty smoothly so I wanted to do the same for the identical bookcase in the living room.

Before
The first step involves removing the cardboard backing.

I then had to decide what IKEA fabric I wanted to cover the backing with.

I could have used wallpaper or paint to cover the back but since I have an over-abundance of fabric this was the obvious choice for me. I decided on the dandelion fabric since the pattern was the perfect size for the bookshelf. After choosing the fabric I cut it to size leaving a few inches on each side to fold over the back.

Now here comes the very technical part. Duct tape, yes, duct tape. Just fold over the fabric around the back and secure with duct tape. Since the back of the book case is to the wall no one will ever know (except all of you!).


Here’s what the backing looks like covered.

I then slipped the backing into place and nailed it at the bottom. It is a snug fit with the fabric wrapped around but with a bit of finagling I got it in.

Now for the finished bookcase.

After
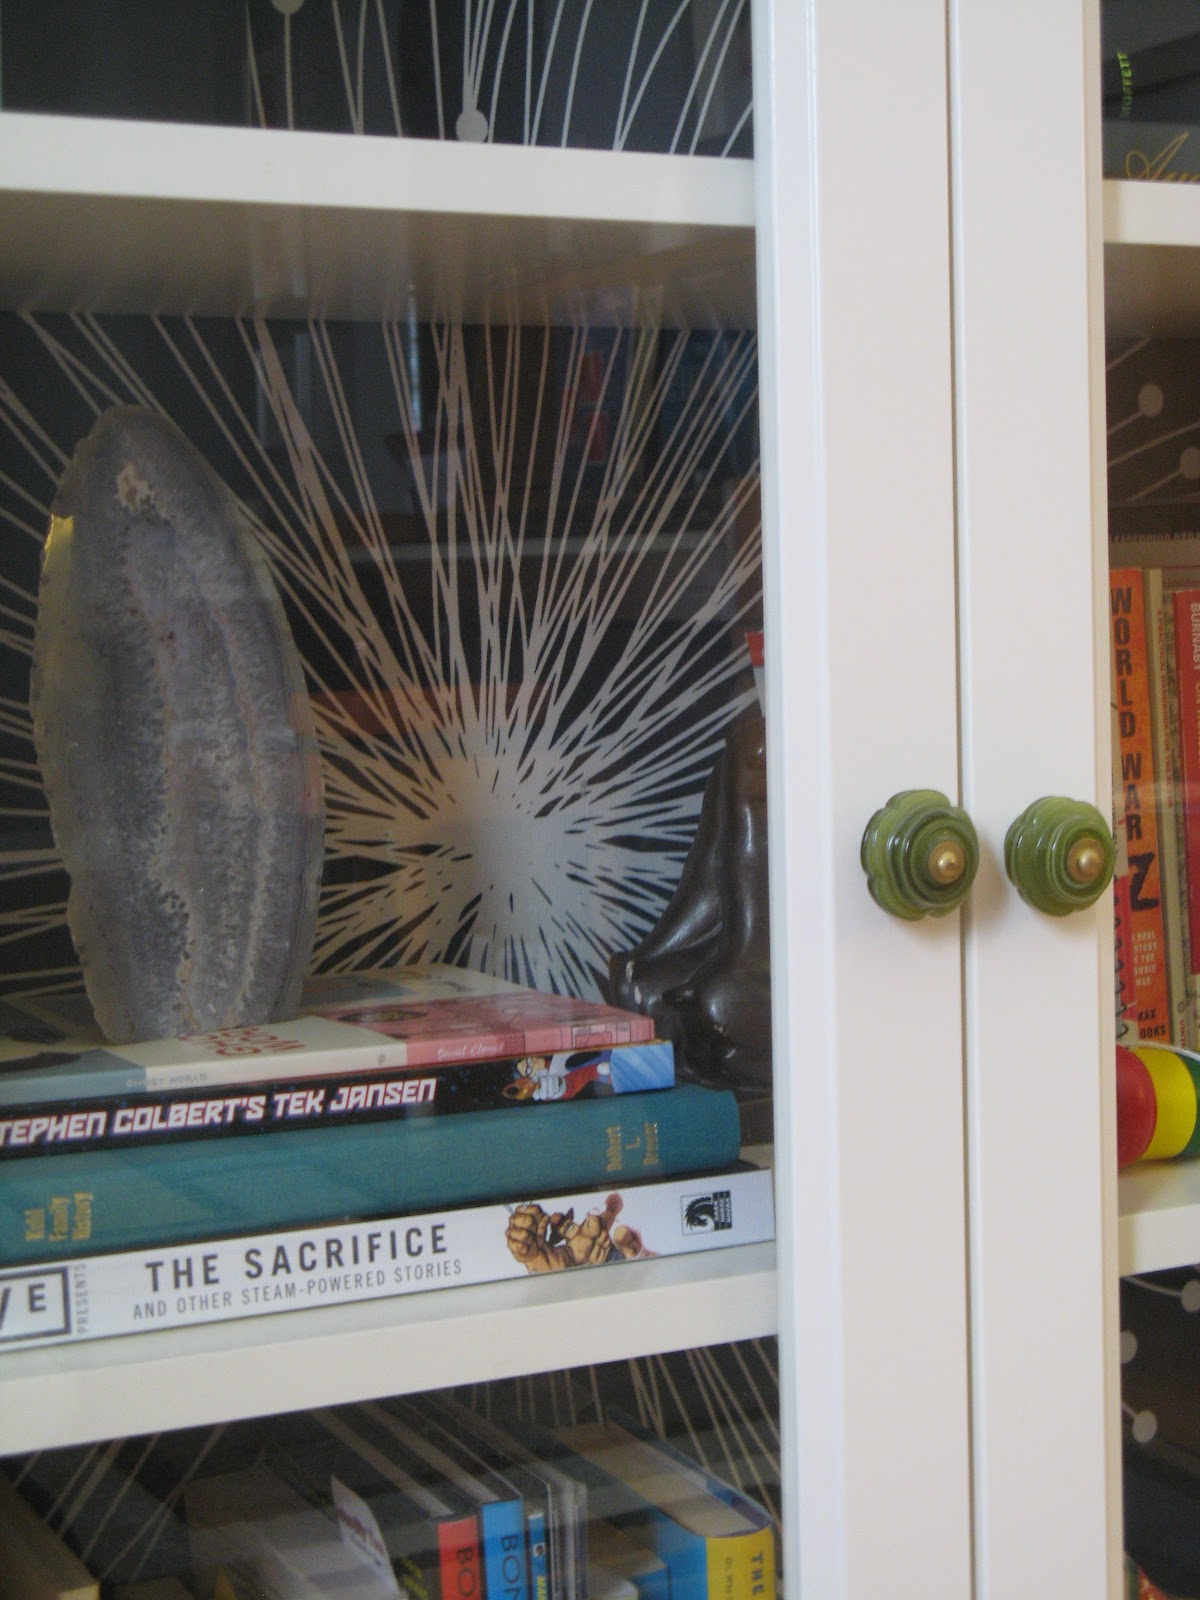
After
I think it adds more depth and helps the items in the bookcase to stand out.
3. Reupholster bench in master bedroom
This bench has been with me since high school. My mom and I bought it at Lowes for around $25, it was unfinished pine, unassembled and came in a kit that you were suppose to paint with a giant American flag. I ended up staining it a dark walnut color instead of the Americana paint treatment. A few years ago I turned it into a padded bench with foam and covered it with fabric.

At the time it matched the duvet cover and throw pillows, but I’ve since bought new bedding. I had bought fabric from West Elm last year to reupholster our $5 Craigslist office chair and bought an extra yard for the bench. It took three months for the fabric to get here, but it was worth the wait. I love how it matches the throw pillow I purchased at West Elm last summer.

To recover the bench I first had to remove the hinges and then remove the fabric.


Usually one is suppose to use batting to cover foam for upholstery, but I had leftover fleece that I had used instead. The foam and fleece were still in good shape so I was able to reuse it as is.

After ironing and cutting the fabric to size I centered the seat on the fabric and began stapling.

Around the screw holes I cut out a small hole in the fabric so the hinges could be reattached.


I continued around the edges pulling the fabric tight and stapling.


I then reattached the hinges to the seat.

And here’s the finished bench.

After

After
4. Make new pillow covers for Spring
So, I cheated with this one. I removed the wintry plaid covers to reveal the original pillows. For now, it’s bright and springy enough for me!

Before

After

After

After
I am hoping this streak of motivation continues this week!
nice! You can come decorate for me anytime!
ReplyDeleteThanks! I'm sure I could pick up a few photography tips from you :) I would love to get a new camera sometime, still trying to make do with the old Cannon Power Shot.
ReplyDelete