Sunday, December 2, 2012

Breaking the Builder Beige

When we moved into our home almost every room (excluding the living and dining room) was painted a boring shade of the dreaded builder beige.  Even in our old 1941 home the previous owners had bought into the off-white beige trend that all of the newly built cookie cutter homes now have.  Over the years I have remedied most of this, but two rooms have still gone untouched by my compulsive need to paint:  the upstairs attic area (currently our storage/hoarding room) and the basement bathroom.  Given that our basement was likely remodeled in the early 2000s I can understand the enormous amount of beige covering every surface.


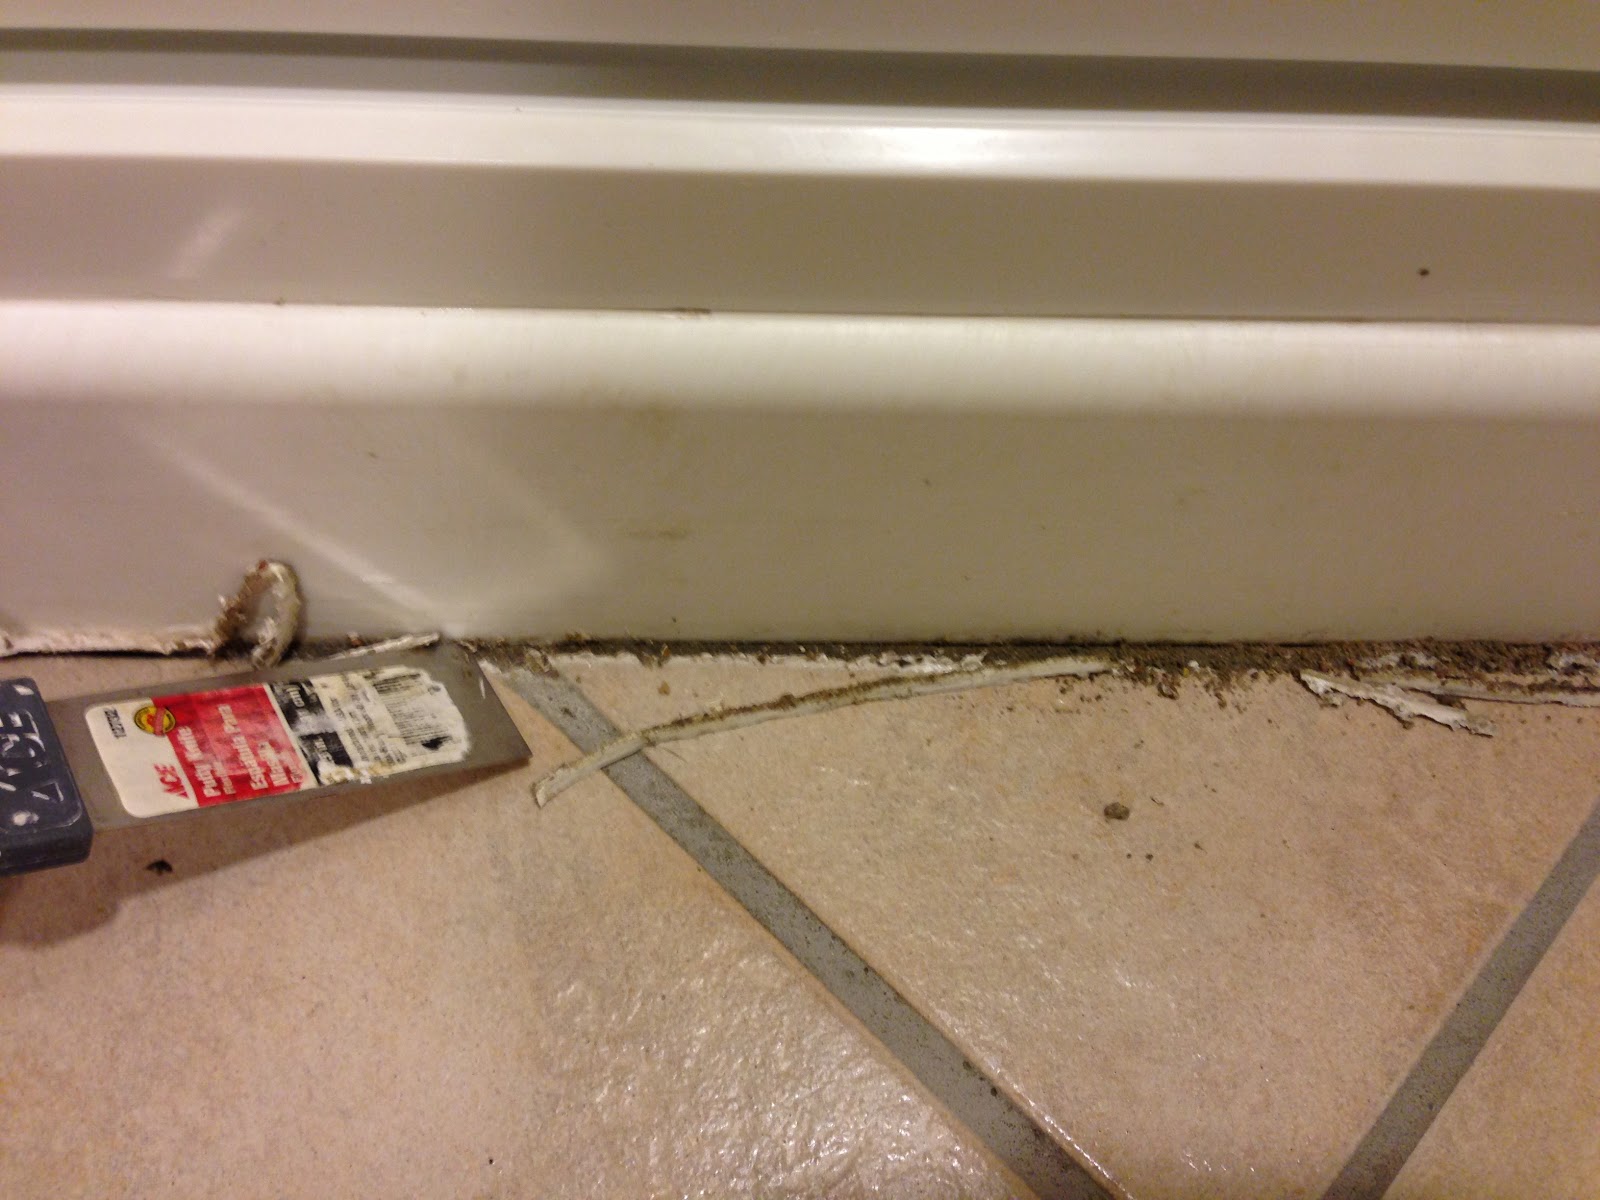
Until recently I have been able to ignore our basement bathroom given that I would only use it in rare circumstances.  My decorating consisted of a bench from IKEA, a few cheap IKEA prints and frames, and two light green bath mats.  It doesn't look bad, just blah.  And after daily use it ended up looking more like this...


This past summer we had a plumbing issue with our upstairs bathroom rendering our shower useless.  At the time, our street was completely torn up in front of our house so we were unable to get a plumber.  Luckily we were able to use our basement bathroom and shower after failed attempts to fix the plumbing ourselves.


Call it laziness, or just wanting to avoid the inevitable plumber's bill, but we've continue to use our basement bathroom everyday for showering even though our street is now accessible and we could have called a plumber months ago.

Being faced the beige on a daily basis finally drove me to my paint brush a few weeks back.  After my clearance trip to Target I was finally inspired and had a look in mind.


I started by clearing out the room and breaking out the putty knife, spackle and caulking gun.  This is definitely the least-fun part of painting, but a necessity.  I took down all of the fixtures including the mirror over the sink.  I knew that I wanted to raise the mirror up so that my husband and his tall friends could see without having to stoop.


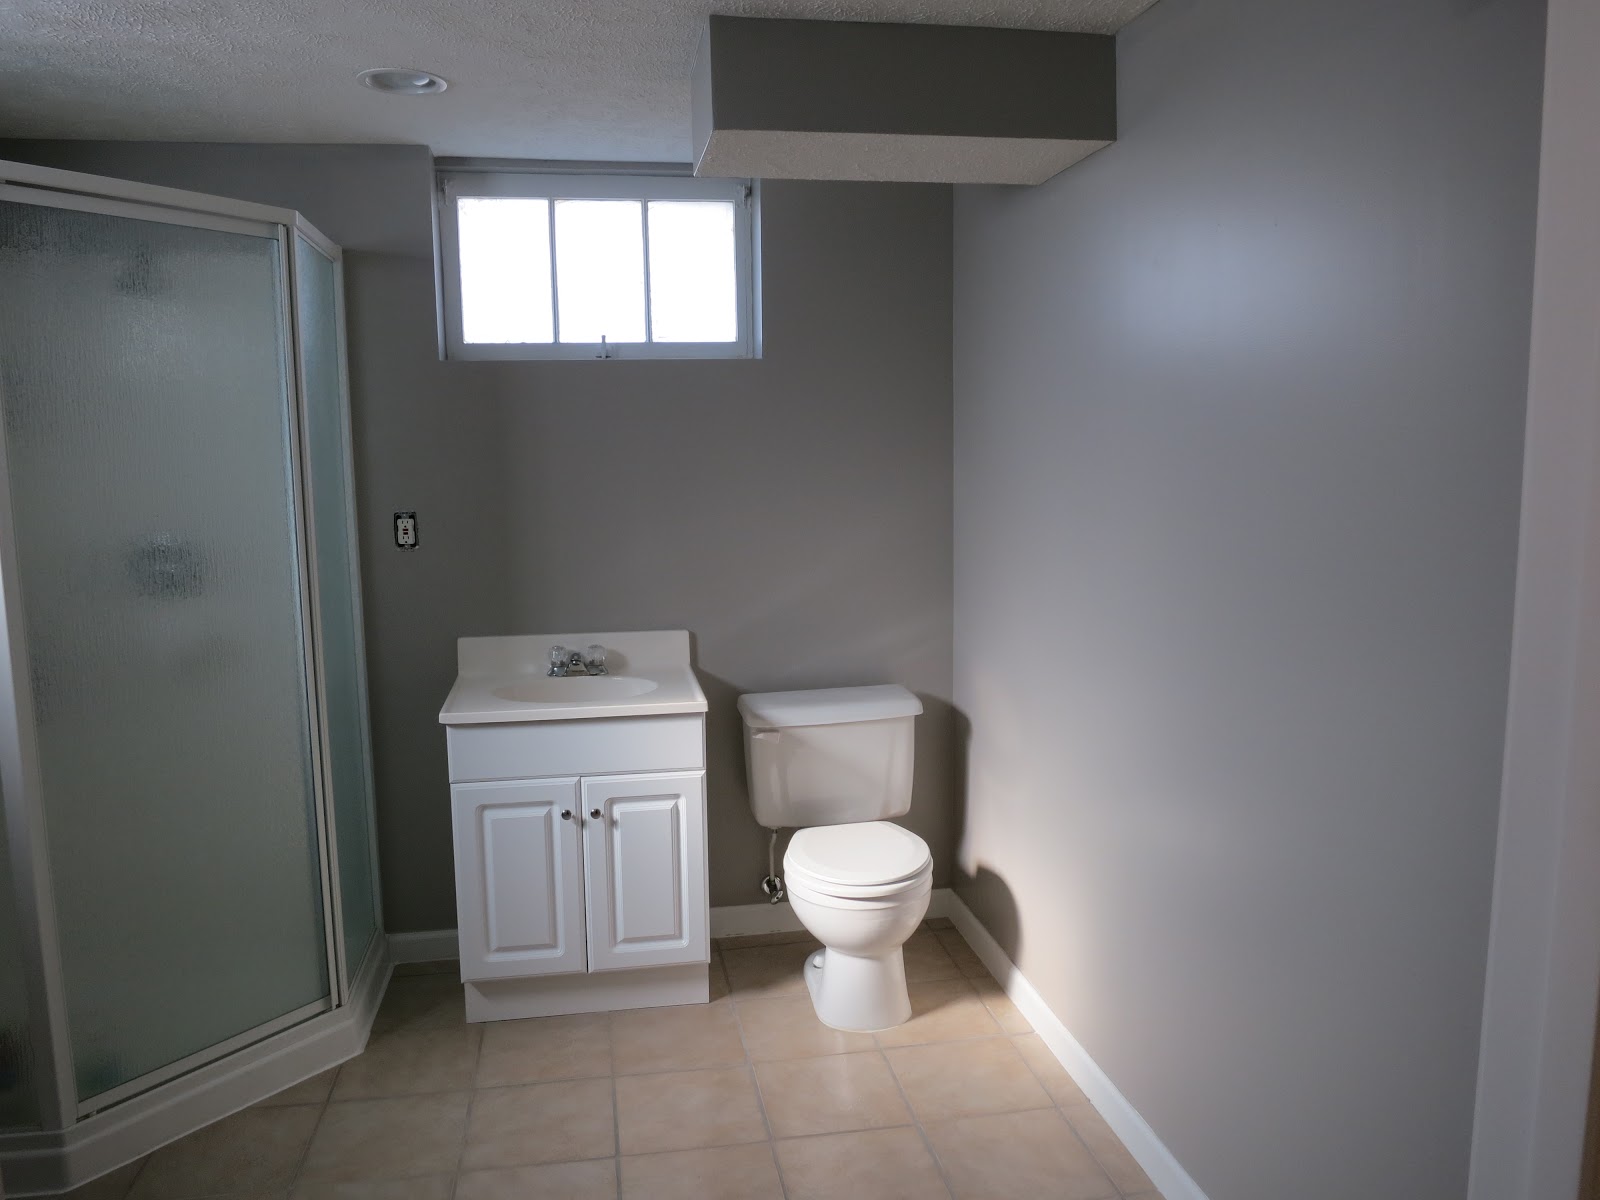
After everything was patched up and sealed up I scoured my stash of paint to find the right shades for the room.  I had an accent wall in mind, and decided to carry the same gray-tone (Olympic "Silver Dollar") from the family room in the basement into the bathroom.  I loved the slate-gray color (Behr "Antique Tin") from the upstairs bathroom and decide this would make a great accent wall.


Another thing that bothered me about the bathroom was the mismatched metals and finishes.  We had chrome, brushed nickle and polished nickle.  I was also tired of our crystal-handled faucet and started looking for possible replacements online.  I had an oil-rubbed bronze (ORB) finish in mind, but the cheapest I could find was around the $60 price point.  Given that this is a basement bathroom, and not our main bathroom, this was little pricey.

And then I was inspired by Young House Love's obsession with ORB spray paint.  Jason and I took a trip to our local Habitat for Humanity Restore and found a hand towel holder for $1, as well as a nice hefty faucet for $5.  I recommend going late on Saturday night right before they close when there's no chance of anyone else shopping there (this was the West O location, not the one on 24th and J).  It makes it much easier to rummage through everything.


We decided that even if the ORB treatment didn't work, we were only out the $6.  The ORB can of spray paint was around $7 at Lowes.


I gathered and cleaned all of the to-be-ORBed items.  For the faucet I unscrewed the "mouth" of the faucet and removed the filter screens as to avoid getting them clogged with paint.


After several light coats we had newly ORBed "matching" fixtures!


Some people may have used a primer first, but this paint claims to have the primer included, and I just plain forgot to buy primer at the store.  So far after about a month of use everything is holding up well. I reinstalled the mirror, toilet paper holder and the new hand towel holder using drywall anchor screws.  Even this doesn't go perfectly all the time...


I had to break out the spackle and paint for a touch up after running into a metal stud of some sort, but I did get everything reattached eventually.

This project also marks my first solo plumbing job, as I "successfully" installed the faucet by myself!  Simply turn off the water supply, unscrew the old water connections, faucet and leaver, and remove the faucet.


"Simply" is a rather deceiving word as it takes a lot of elbow grease, strange positions and various wrenches to get all of these connections undone.  I did have to consult my husband at one point when the reconnected supply lines kept leaking.  He discovered we were missing a rubber washer, so we did buy a new supply line for a few dollars.  I reconnected the new hot water supply and voila!  We had cold AND hot running water out of our new ORBed $5 faucet!


And now for the fun part...accessorizing!  I had a few clearance deals that I scored at from the Humble Home a few months back.  These are insurance documents that are over 100 years old!


I know, insurance documents as art in a bathroom?  Well, my husband does work in the insurance business.  But more so I like the fact that they fit in with the slightly eclectic and "rustic" vibe this room was giving me.  I also don't mind the cracked glass that the one frame has.  It sort of adds to the charm!

I also had a few ORB finished hooks I had picked up previously at Anthropologie on clearance.


After installing them, the silver screw heads were a little unsettling.  I thought about buying some nail polish that matched to cover them, but luckily my genius husband thought of this handy little trick.  Spray the ORB spray paint into a cup and use a q-tip to apply paint to the screw heads.


I then added in all of my Target clearance finds with the old IKEA bench...


So what's the budget breakdown for the basement bathroom redo?

Accent Wall Paint = Free! leftover from old projects
Wall Paint = $30 for 1 gallon, used some leftover but needed more, have plenty left for future projects so we'll say I used $10 worth
Spackle = Free! leftover from old projects
Bathroom Caulk = Free! leftover from old project
Oil Rubbed Bronze Spray Paint = $7
Ring Hand Towel Holder = $1
Bathroom Faucet = $5
Water Supply Line = $5
Mirror = Free! repainted hardware
Toilet Paper Holder = Free! repainted
Framed Insurance Documents = $38 for both
Nate Berkus Hand Towel = $8
Nate Berkus Bath Mat = $20
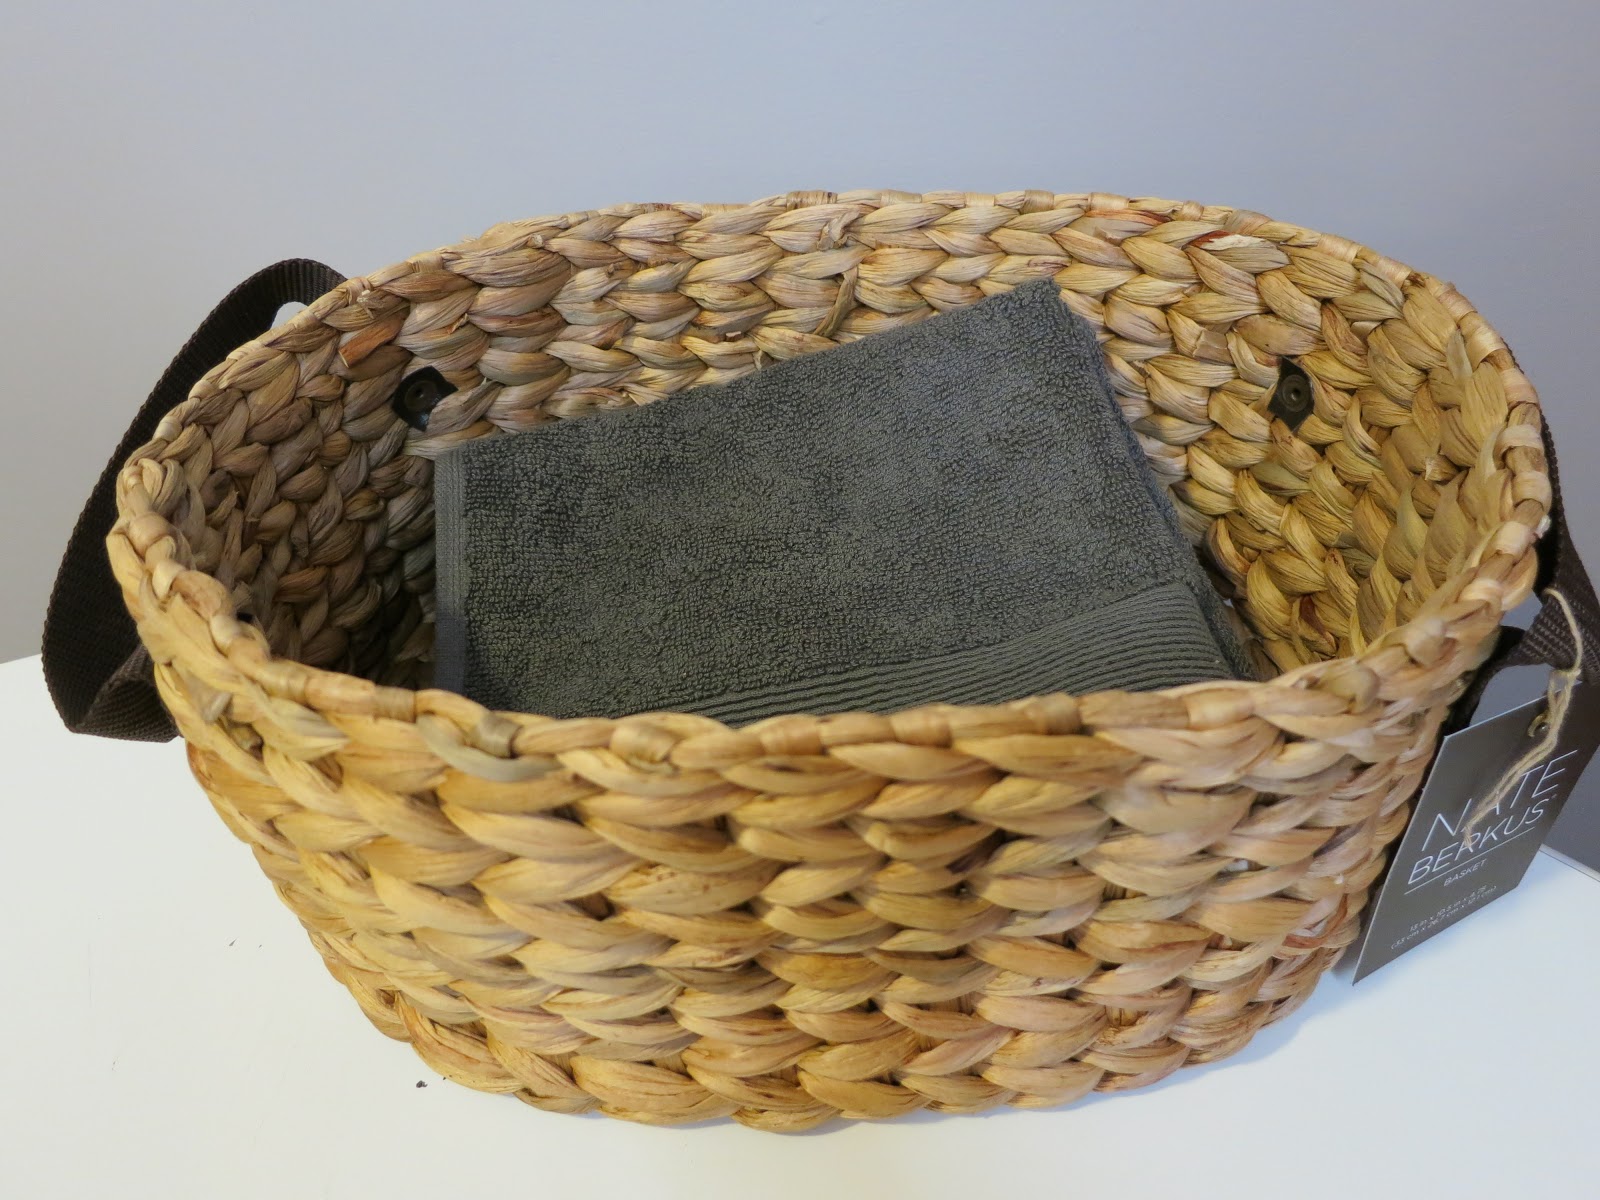
Nate Berkus Basket = $20
Orla Kiley Hand Soap Dispenser = $3
Target Clearance Mirror = $21
Target Clearance Pillows = $6 + $17.50
Target Clearance Rug = $7.50
Target Clearance Ceramic Table = $21
Anthropologie Clearance Hooks = $6 for both
IKEA Molger Bench = $40 new, but already had, Free!
IKEA Baskets (similar to PJAS) = already had, Free!
Target Clearance Ceramic Vase = already had, Free!

TOTAL COST = $196


We are really happy with the results, especially with the total price tag under $200!  What do you think of the results?  Are pillows in the bathroom too much?  I know some may think the bench is weird, but it's a big space to fill and I love to incorporate textiles and texture wherever I can!  What are your feelings about builder beige?  Do you find it easy to decorate with, or just too plain?

Friday, November 23, 2012

How to Pull-Off a Very Veggie Thanksgiving

Hope everyone was able to enjoy their Thanksgiving day with family and friends!  Jason and I hosted my family at our house, which is actually the fourth time hosting the big Turkey day for us.  This also makes the second time we have prepared a mostly-vegan meal.  My family helped out  a lot this year and brought the turkey plus many side dishes and pies.  I tackled most of the side dishes and made almost everything vegan-friendly for my brother and I.  We of course ended up with twice as many dishes as we had people, and we took pictures of everything but the food.


Thanksgiving Menu 2012
Food Brought & Bought:
Turkey - not vegan, made by Mom and Dad
Turkey Gravy - not vegan, made by Mom
Turkey Stuffing - not vegan, made by Mom
Organic Pumpkin Pie - vegetarian, made by Mom
Pumpkin Pie - vegetarian, provided by Ken
Green Beans with Slivered Almonds - vegan, made by Mom
Chia Seed Pudding - vegan, made by my brother
Triple Berry Pie - vegetarian, from Wheatfields
Crescent Rolls - vegan, believe it or not

Food We Made:
Mashed Potatoes -vegan
Thanksgiving Gravy - vegan
Wild Rice Stuffing - vegan
Hippie Loaf - vegan
Corn Dish - vegan
Cranberry Sauce - vegan, no sugar added
Bread Stuffing - vegetarian
Apple Walnut Stuffing - vegetarian
Scalloped Carrots - vegan
Thyme-Braised Brussel Sprouts - vegan
Coconut Whip - vegan

Like I said, lots of food!  And everything turned out fairly well (although the hippie loaf could have been a little more browned).  I've linked to the recipes for some of the dishes above.  Here are a few tips for...

Veganizing your Thanksgiving without too much trouble:
1)  Use vegetable broth instead of chicken broth or turkey drippings for your stuffing.
2)  Use almond, soy, rice, or hemp milk to make your mashed potatoes creamy.
3)  Use vegan stick butter (Earth Balance) instead of butter.

These simple switch-outs will make most of your dishes vegan-friendly for those certain family members.  Here are some of our favorite recipes that I created vegan versions of:

Corn Dish
4 round tsp Ener-G with 6 Tbsp warm water
3/4 cup flour
3/4 cup cornmeal
3 Tbsp sugar
4 tsp baking powder
1 tsp onion powder
1/2 tsp salt
3/4 cup canned pumpkin
1 can corn (with liquid)
1 can creamed corn
1/2 stick melted vegan butter

Mix the above ingredients together and pour into a greased casserole dish.  Bake at 350 degrees for 50 minutes to 1 hour until golden brown.

Scalloped Carrots
5-6 carrots peeled and chopped into 1/2 inch pieces
1/2 onion chopped
1 Tbsp olive oil
4 Tbsp vegan butter
4 Tbsp flour
1 1/2 cup almond milk
1/4 cup nutritional yeast
1 Tbsp soy sauce or tamari
1 tsp garlic powder
Fried Onions

Boil carrots until slightly tender, do not over-cook.  Meanwhile saute onion with olive oil, set aside.  In a saucepan over medium heat melt butter and whisk in flour, making a roux.  Add milk, nutritional yeast, soy sauce, and garlic powder.  Heat until thickened, add more milk if too thick.  Once at desired consistency (similar to creamed soup) mix together with onion and carrots, pour into a small casserole dish.  Top with fried onions.  Bake covered with foil for 30 minutes, then remove foil for 15 minutes until browned.


And finally I have a few...

Time-saving tips for any type of Thanksgiving meal:
1)  Chop all onions, celery, mushrooms, carrots, etc. the night before and portion into containers/plastic bags for each dish.
2)  Roast your potatoes in your crockpot on low setting starting that morning.  An hour before meal time, mash the potatoes in the crock and turn it to warm setting.  Serve out of the crockpot.
3)  Make as much of a dish as you can ahead of time without cooking all the way through.  Do the final baking in the hour or two before meal time (ex. stuffings, scalloped carrots, hippie loaf).
4)  Make a list of all of the dishes you are preparing so you can check things off as you go.  You can even go so far as to make an "oven schedule" to coordinate your precious oven time.
5)  Do dishes as you go along.  It is helpful to have a wonderful husband who is willing to take on this task.
6)  Don't say no to help.  If someone offers to bring something, say yes!


Everything came together fairly well.  There was of course that last hour of craziness in the kitchen trying to keep everything warm, but we succeeded!  My brother even brought over his harmonium and treated us to a little pre and post-dinner entertainment.


I tried my hand at the harmonium as well.  It's kind of like mini organ or an accordion that you sit on your lap or the ground.


We had a great time!  Thanks to my wonderful husband for not only being the dish-washing fiend, but for photographically documenting the evening.  I feel so lucky and blessed to have family close by to celebrate the holidays with!  We were sad we missed out on the Brewer Thanksgiving, an annual tradition where they invite over all of the international faculty and students in my father-in-law's department that do not have family to celebrate with.  It seems "non-traditional" to most but it really is what the spirit of Thanksgiving is all about.  Happy Thanksgiving to all of our family and friends we were not able to celebrate with!

Tuesday, November 20, 2012

Hitting the Bulls-Eye!


I have always said how much I love Target clearance, but until a few weeks ago my Target clearance luck had dried up.  I had begun to lose faith in my beloved hidden back-row end-caps.  My luck changed at a recent trip when I happened upon the mother-load of Target clearance, and in my post-dentist, Novocain-induced state I was more than happy to treat myself.

My first find of the day was this fabulous matte gray silicone Michael Graves spoon rest for…


$2.98!  We were in desperate need of a new spoon rest that wouldn’t stain unlike our old white melamine one, so this fit the bill.

Next I happened upon two rugs, one runner for our entryway and one larger reversible rug that would work for our downstairs bathroom.


Each rug was less than $8!


I know I have a throw pillow problem, but it was so hard to resist these two…


Especially at $17.48 and $5.98!


I have been pining after a sunburst style mirror for years now, and finally I found one…


It was only $20.98!  Can’t say no to that.


Finally I found this textural ceramic table…


For only $20.98!


Secretly it was not the possibility of the clearance section that brought me to Target that day, it was the lure of Nate.  Many of you probably know that Nate Berkus recently launched a limited-time line at Target with a lot of amazing natural and eclectic accessories for the home.  I had to indulge…


I paid full-price for the graphic patterned bath rug, natural basket, and graphite hand towel, but it was worth it for a little piece of Nate.  Here is a shot of the clearance finds with the Nate finds.  I had a basement bathroom redo in mind…


When I buy clearance items now, I always try to have a place or use in mind for the item.  If not, I don’t buy it.  It’s just a waste of money, not a clearance savings if the item just sits around.  I’ve learned this the hard way over the years!

While clearance shopping keep in mind that some items may be easily changed with a cheap can of spray paint or another quick fix.  Don’t be afraid of a few scratches or dings, a lot of times you will be the only one to notice once that scratched picture frame is hanging up.  So go forth and find your own clearance deals! (just save the good stuff for me)

I've incorporated all of my clearance finds into our basement bathroom, along with a few other deals from other stores.  Stay tuned for the bathroom reveal!