Showing posts with label Complete Projects. Show all posts

Sunday, December 2, 2012

Breaking the Builder Beige

When we moved into our home almost every room (excluding the living and dining room) was painted a boring shade of the dreaded builder beige.  Even in our old 1941 home the previous owners had bought into the off-white beige trend that all of the newly built cookie cutter homes now have.  Over the years I have remedied most of this, but two rooms have still gone untouched by my compulsive need to paint:  the upstairs attic area (currently our storage/hoarding room) and the basement bathroom.  Given that our basement was likely remodeled in the early 2000s I can understand the enormous amount of beige covering every surface.


Until recently I have been able to ignore our basement bathroom given that I would only use it in rare circumstances.  My decorating consisted of a bench from IKEA, a few cheap IKEA prints and frames, and two light green bath mats.  It doesn't look bad, just blah.  And after daily use it ended up looking more like this...


This past summer we had a plumbing issue with our upstairs bathroom rendering our shower useless.  At the time, our street was completely torn up in front of our house so we were unable to get a plumber.  Luckily we were able to use our basement bathroom and shower after failed attempts to fix the plumbing ourselves.


Call it laziness, or just wanting to avoid the inevitable plumber's bill, but we've continue to use our basement bathroom everyday for showering even though our street is now accessible and we could have called a plumber months ago.

Being faced the beige on a daily basis finally drove me to my paint brush a few weeks back.  After my clearance trip to Target I was finally inspired and had a look in mind.


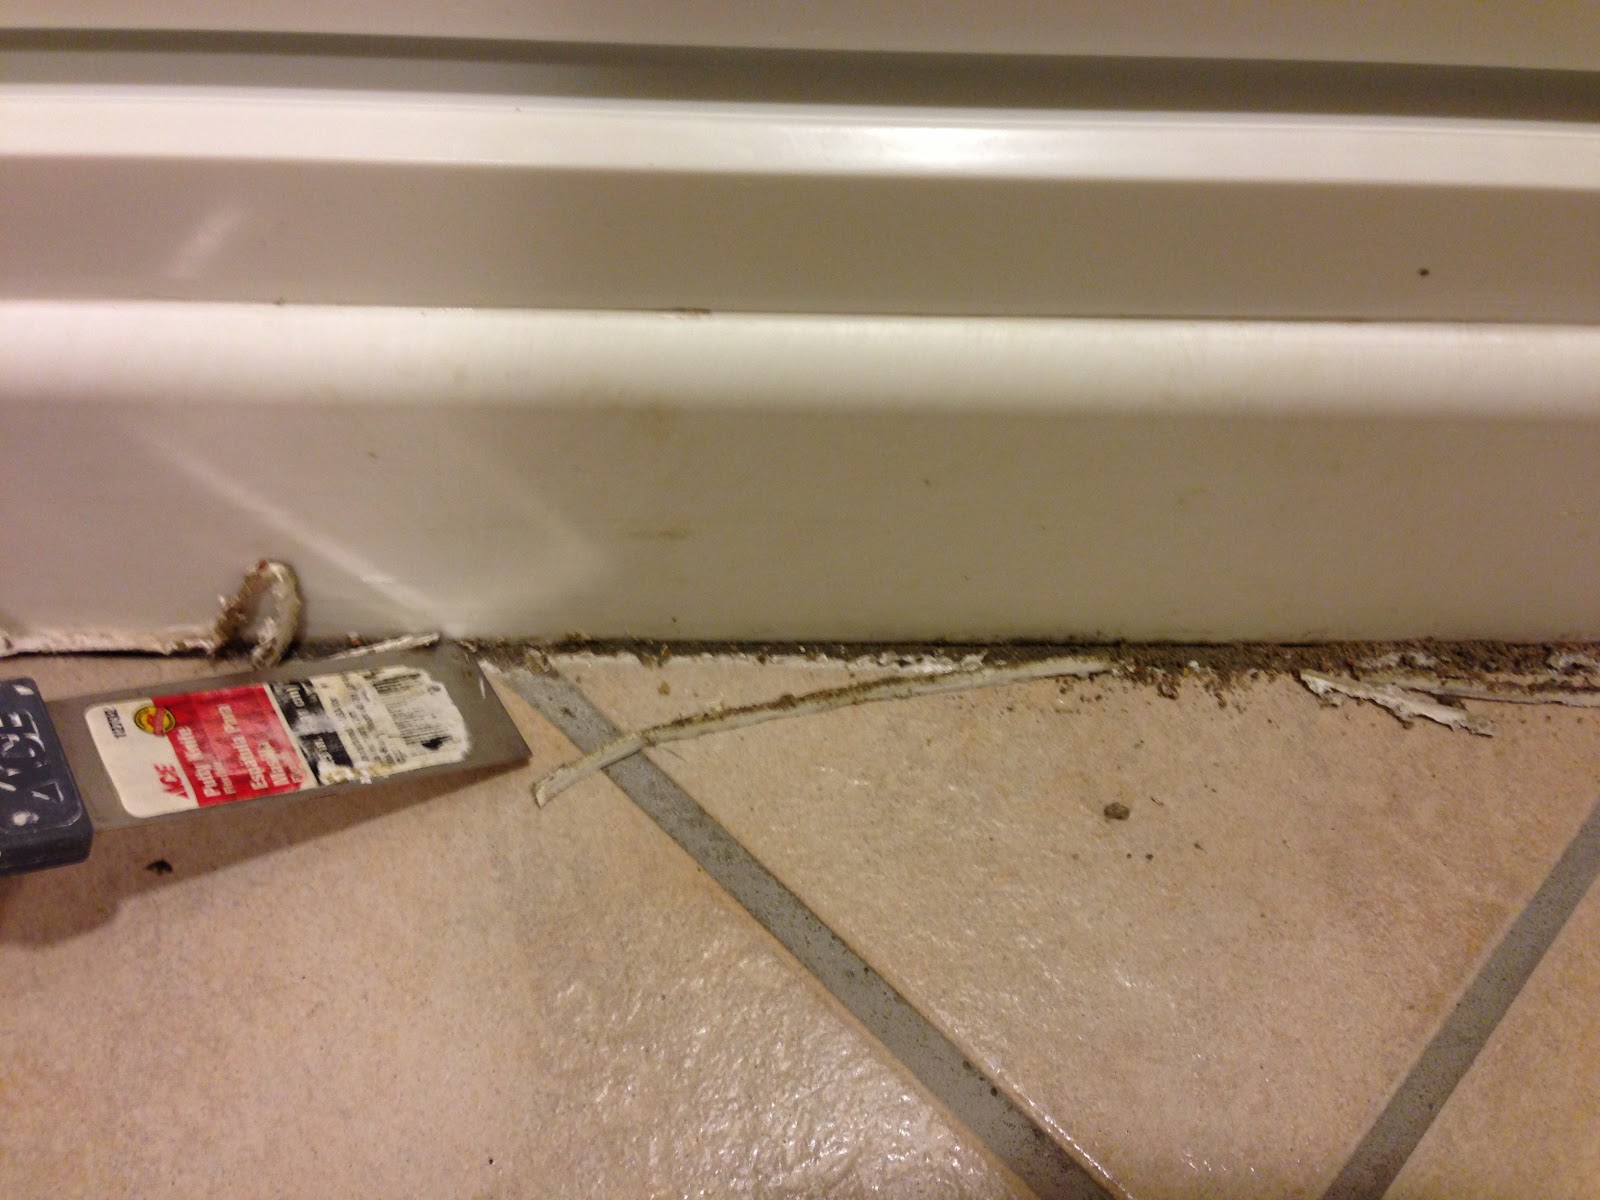
I started by clearing out the room and breaking out the putty knife, spackle and caulking gun.  This is definitely the least-fun part of painting, but a necessity.  I took down all of the fixtures including the mirror over the sink.  I knew that I wanted to raise the mirror up so that my husband and his tall friends could see without having to stoop.


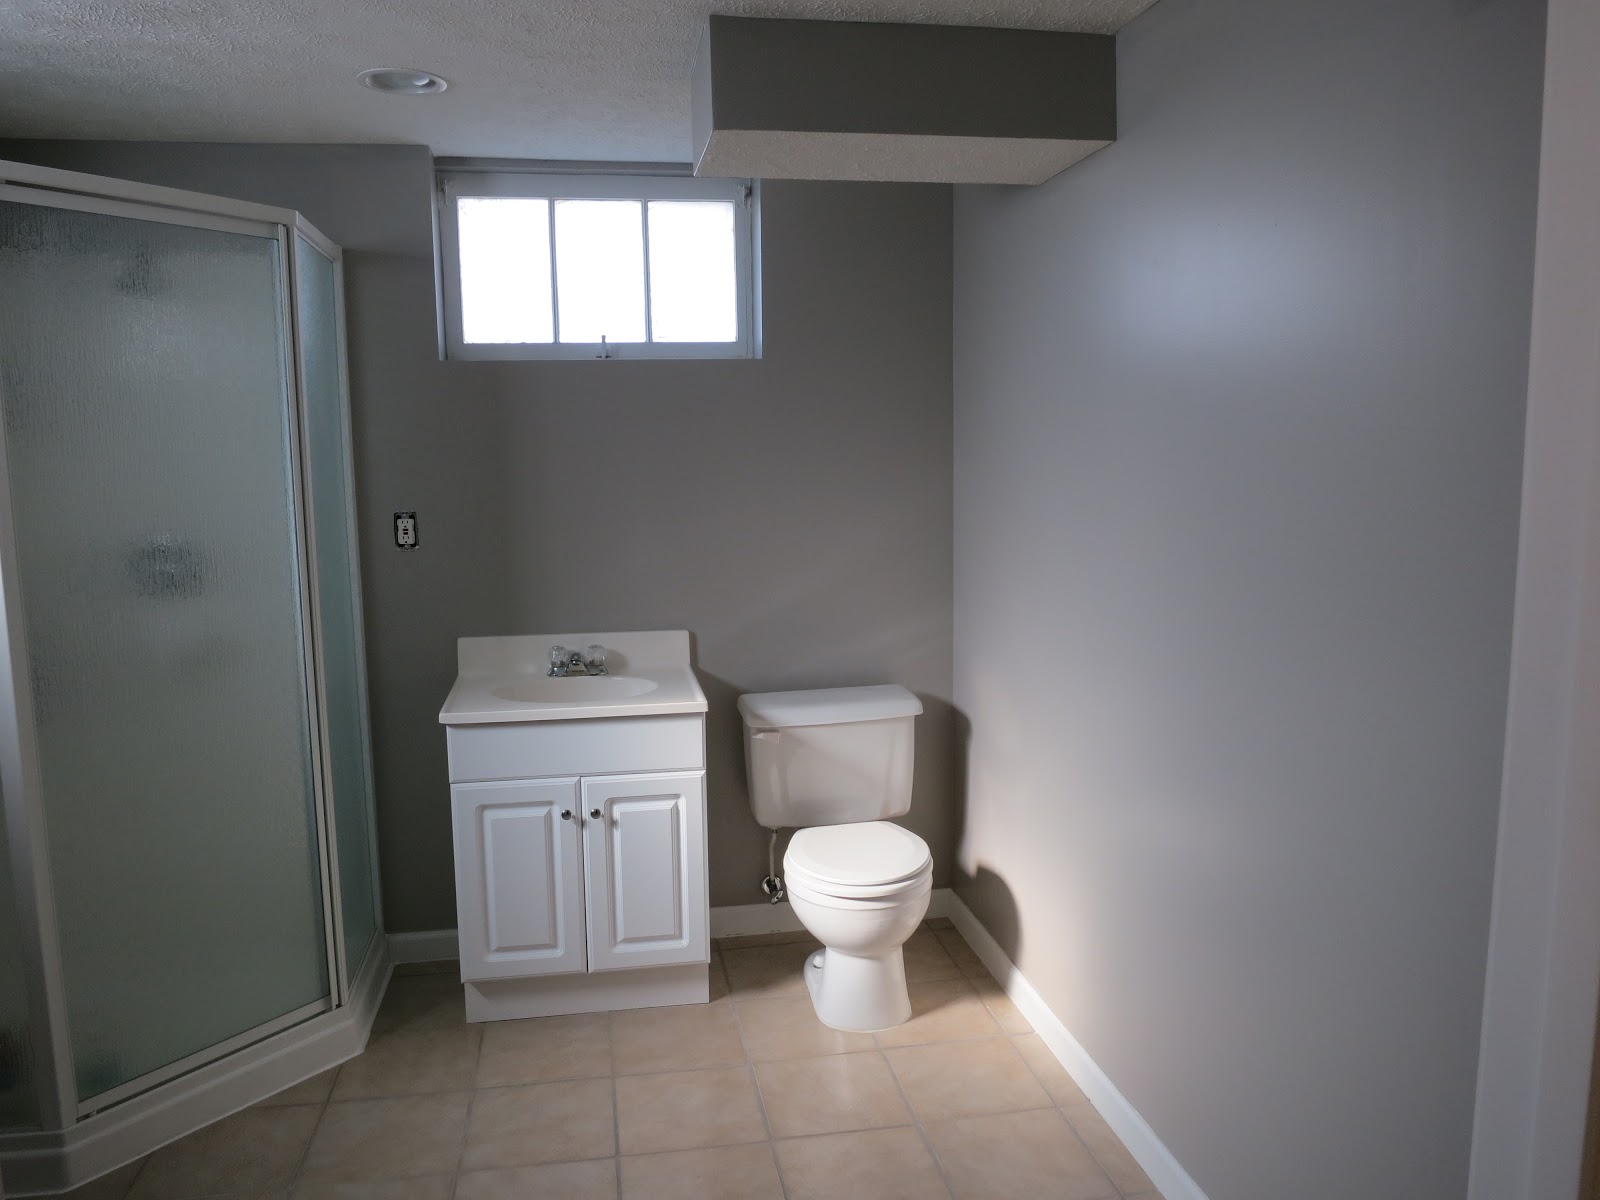
After everything was patched up and sealed up I scoured my stash of paint to find the right shades for the room.  I had an accent wall in mind, and decided to carry the same gray-tone (Olympic "Silver Dollar") from the family room in the basement into the bathroom.  I loved the slate-gray color (Behr "Antique Tin") from the upstairs bathroom and decide this would make a great accent wall.



Another thing that bothered me about the bathroom was the mismatched metals and finishes.  We had chrome, brushed nickle and polished nickle.  I was also tired of our crystal-handled faucet and started looking for possible replacements online.  I had an oil-rubbed bronze (ORB) finish in mind, but the cheapest I could find was around the $60 price point.  Given that this is a basement bathroom, and not our main bathroom, this was little pricey.

And then I was inspired by Young House Love's obsession with ORB spray paint.  Jason and I took a trip to our local Habitat for Humanity Restore and found a hand towel holder for $1, as well as a nice hefty faucet for $5.  I recommend going late on Saturday night right before they close when there's no chance of anyone else shopping there (this was the West O location, not the one on 24th and J).  It makes it much easier to rummage through everything.


We decided that even if the ORB treatment didn't work, we were only out the $6.  The ORB can of spray paint was around $7 at Lowes.


I gathered and cleaned all of the to-be-ORBed items.  For the faucet I unscrewed the "mouth" of the faucet and removed the filter screens as to avoid getting them clogged with paint.


After several light coats we had newly ORBed "matching" fixtures!


Some people may have used a primer first, but this paint claims to have the primer included, and I just plain forgot to buy primer at the store.  So far after about a month of use everything is holding up well. I reinstalled the mirror, toilet paper holder and the new hand towel holder using drywall anchor screws.  Even this doesn't go perfectly all the time...


I had to break out the spackle and paint for a touch up after running into a metal stud of some sort, but I did get everything reattached eventually.

This project also marks my first solo plumbing job, as I "successfully" installed the faucet by myself!  Simply turn off the water supply, unscrew the old water connections, faucet and leaver, and remove the faucet.


"Simply" is a rather deceiving word as it takes a lot of elbow grease, strange positions and various wrenches to get all of these connections undone.  I did have to consult my husband at one point when the reconnected supply lines kept leaking.  He discovered we were missing a rubber washer, so we did buy a new supply line for a few dollars.  I reconnected the new hot water supply and voila!  We had cold AND hot running water out of our new ORBed $5 faucet!


And now for the fun part...accessorizing!  I had a few clearance deals that I scored at from the Humble Home a few months back.  These are insurance documents that are over 100 years old!


I know, insurance documents as art in a bathroom?  Well, my husband does work in the insurance business.  But more so I like the fact that they fit in with the slightly eclectic and "rustic" vibe this room was giving me.  I also don't mind the cracked glass that the one frame has.  It sort of adds to the charm!

I also had a few ORB finished hooks I had picked up previously at Anthropologie on clearance.


After installing them, the silver screw heads were a little unsettling.  I thought about buying some nail polish that matched to cover them, but luckily my genius husband thought of this handy little trick.  Spray the ORB spray paint into a cup and use a q-tip to apply paint to the screw heads.


I then added in all of my Target clearance finds with the old IKEA bench...


So what's the budget breakdown for the basement bathroom redo?

Accent Wall Paint = Free! leftover from old projects
Wall Paint = $30 for 1 gallon, used some leftover but needed more, have plenty left for future projects so we'll say I used $10 worth
Spackle = Free! leftover from old projects
Bathroom Caulk = Free! leftover from old project
Oil Rubbed Bronze Spray Paint = $7
Ring Hand Towel Holder = $1
Bathroom Faucet = $5
Water Supply Line = $5
Mirror = Free! repainted hardware
Toilet Paper Holder = Free! repainted
Framed Insurance Documents = $38 for both
Nate Berkus Hand Towel = $8
Nate Berkus Bath Mat = $20
Nate Berkus Basket = $20
Orla Kiley Hand Soap Dispenser = $3
Target Clearance Mirror = $21
Target Clearance Pillows = $6 + $17.50
Target Clearance Rug = $7.50
Target Clearance Ceramic Table = $21
Anthropologie Clearance Hooks = $6 for both
IKEA Molger Bench = $40 new, but already had, Free!
IKEA Baskets (similar to PJAS) = already had, Free!
Target Clearance Ceramic Vase = already had, Free!

TOTAL COST = $196


We are really happy with the results, especially with the total price tag under $200!  What do you think of the results?  Are pillows in the bathroom too much?  I know some may think the bench is weird, but it's a big space to fill and I love to incorporate textiles and texture wherever I can!  What are your feelings about builder beige?  Do you find it easy to decorate with, or just too plain?

Sunday, August 12, 2012

Going Vertical


I did it again.  I gutted another poorly designed closet in our 70-year-old house.  As I have mentioned before old homes notoriously have small closets.  Not only are they small, but they in no way take advantage of the tiny amount of space allotted to them in the first place.  Since our master bedroom closet overhaul last year I have been dying to get my hands on our disaster of a “coat closet”.

Technically, our house does not have an official coat closet.  I installed coat hooks by our front door, which we use to rotate our regularly worn seasonal items.   


To store the rest of our coats, jackets, hats, gloves, boots, and bags we took over our guest bedroom closet since it is located on the first floor of our home.  Over the last four years it has started to look a little something like this…


Horrible.  Not only is it difficult to find a matching pair of gloves, all of our many bags, backpacks and boots have melded into one giant pile on the floor making it impossible to find what you are looking for.

A few weeks back the organizing bug hit me again.  I was trying to clean our living room and could not find the space to shove yet another backpack into the closet.  I had enough!  So the closet purging began.  This is everything that it contained.


After the purge, I began to take inventory of what we had, what we could move to other locations in the house, and what we could donate.  We decided that we wanted this closet to only contain the following:

Coats
Jackets
Hats
Scarves
Gloves
Boots
Bags
Backpacks
Picnic Items

I took measurements after the purge of the closet, as well as some of the items I knew we needed to make room for.  Using Paint I created a rough diagram so I could explain my vision to the hubby and get the final approval.


After getting his input and blessing I got to the fun part…the demolition!  I knew this closet would likely be constructed the same way as our master, so I collected the necessary tools:  gloves, sturdy shoes, a pry-bar, and a large hammer.


The closet had boards nailed around the perimeter with hooks and the rod attached.  Using the pry-bar I loosened up the boards from the wall and removed any remaining nails with a pair of pliers.


After all of the shelves and boards were removed I started spackling to create a slightly smoother surface. 


I like to use the DAP Drydex Dry Time Indicator spackle.  It goes on pink and then turns white when it is dry.  Once everything was white, I lightly sanded over the spackle to smooth everything out.  I was not going for perfection here, as this is a closet after all.  Another little tip, have your shop vac in one hand and the sanding paper in the other.  This cuts down on the dust floating around to all areas of your house.  Trust me…it gets everywhere!


After the sanding was complete I started cutting in with the paint.  I decided to go with a muted turquoise, “Yucca Plant” from Martha Stewart’s line at Home Depot, the same color I had used for the kitchen pantry.  Luckily I had enough left over so I didn’t have to buy paint, always a good thing!


While the paint was drying I took a trip over to Lowes to pick up the necessary closet supplies.  I got a closet rod and mounting brackets, a melamine shelf which I had cut in two to size, four shelf brackets and a longer pull chain for the light.  The total for all of the supplies came in just under $40.

Once home, I started hanging the closet rod and the shelves.  I always use the heavy-duty anchor screws anytime I have to mount anything on our walls.  We have the old plaster and lathe walls, which makes it nearly impossible to find the studs using our stud finder.  So far, we have had really good luck using this method and everything is staying put.


Winston, "helping" as always.


 After all of the hardware and shelves were in place, I started reintroducing our items into the closet.  We did pare down some of our coats and jackets, as well as a few bags.  Here is the final product!


The first row contains all of our boots and I left room in case any taller boots join in in the future. 


For the next row I used these three IKEA PJAS baskets I picked up on my last trip up to Minnesota.  I filled these with winter hats, gloves, and baseball caps. 


The third row contains all of our various bags, backpacks, laptop cases, and picnic items.  I had thought about hanging hooks around the wall of the closet for bags, but quickly realized we would run out of hooks.  This shelf is just the perfect size for all of our bags and the shelf height makes them easily accessible.


The final row is obviously our coats and jackets as well as our IKEA Komplement scarf hanger.


I am really happy with the outcome.  I like to take advantage of the vertical space in closets as much as possible and it worked really well to just move the closet rod up in this case.  


My mom already asked if we could reach the closet rod.  Thankfully I am just tall enough at 5’4’’ to hang any coats.  Any future vertically challenged homeowners might have to lower the rod, or get one of those handy reaching sticks they have in department stores.  I always thought it would be fun to own one of those.

Thanks for stopping by!  Hopefully as work eases up in the near future I will have time for more projects and more posts!