Showing posts with label Organizing. Show all posts

Sunday, August 12, 2012

Going Vertical


I did it again.  I gutted another poorly designed closet in our 70-year-old house.  As I have mentioned before old homes notoriously have small closets.  Not only are they small, but they in no way take advantage of the tiny amount of space allotted to them in the first place.  Since our master bedroom closet overhaul last year I have been dying to get my hands on our disaster of a “coat closet”.

Technically, our house does not have an official coat closet.  I installed coat hooks by our front door, which we use to rotate our regularly worn seasonal items.   


To store the rest of our coats, jackets, hats, gloves, boots, and bags we took over our guest bedroom closet since it is located on the first floor of our home.  Over the last four years it has started to look a little something like this…


Horrible.  Not only is it difficult to find a matching pair of gloves, all of our many bags, backpacks and boots have melded into one giant pile on the floor making it impossible to find what you are looking for.

A few weeks back the organizing bug hit me again.  I was trying to clean our living room and could not find the space to shove yet another backpack into the closet.  I had enough!  So the closet purging began.  This is everything that it contained.


After the purge, I began to take inventory of what we had, what we could move to other locations in the house, and what we could donate.  We decided that we wanted this closet to only contain the following:

Coats
Jackets
Hats
Scarves
Gloves
Boots
Bags
Backpacks
Picnic Items

I took measurements after the purge of the closet, as well as some of the items I knew we needed to make room for.  Using Paint I created a rough diagram so I could explain my vision to the hubby and get the final approval.


After getting his input and blessing I got to the fun part…the demolition!  I knew this closet would likely be constructed the same way as our master, so I collected the necessary tools:  gloves, sturdy shoes, a pry-bar, and a large hammer.


The closet had boards nailed around the perimeter with hooks and the rod attached.  Using the pry-bar I loosened up the boards from the wall and removed any remaining nails with a pair of pliers.
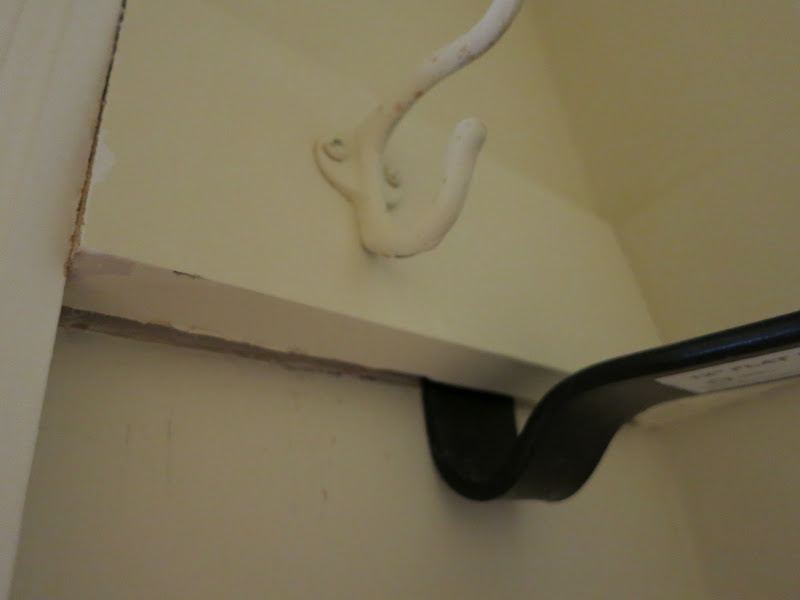


After all of the shelves and boards were removed I started spackling to create a slightly smoother surface. 


I like to use the DAP Drydex Dry Time Indicator spackle.  It goes on pink and then turns white when it is dry.  Once everything was white, I lightly sanded over the spackle to smooth everything out.  I was not going for perfection here, as this is a closet after all.  Another little tip, have your shop vac in one hand and the sanding paper in the other.  This cuts down on the dust floating around to all areas of your house.  Trust me…it gets everywhere!


After the sanding was complete I started cutting in with the paint.  I decided to go with a muted turquoise, “Yucca Plant” from Martha Stewart’s line at Home Depot, the same color I had used for the kitchen pantry.  Luckily I had enough left over so I didn’t have to buy paint, always a good thing!


While the paint was drying I took a trip over to Lowes to pick up the necessary closet supplies.  I got a closet rod and mounting brackets, a melamine shelf which I had cut in two to size, four shelf brackets and a longer pull chain for the light.  The total for all of the supplies came in just under $40.

Once home, I started hanging the closet rod and the shelves.  I always use the heavy-duty anchor screws anytime I have to mount anything on our walls.  We have the old plaster and lathe walls, which makes it nearly impossible to find the studs using our stud finder.  So far, we have had really good luck using this method and everything is staying put.


Winston, "helping" as always.


 After all of the hardware and shelves were in place, I started reintroducing our items into the closet.  We did pare down some of our coats and jackets, as well as a few bags.  Here is the final product!


The first row contains all of our boots and I left room in case any taller boots join in in the future. 


For the next row I used these three IKEA PJAS baskets I picked up on my last trip up to Minnesota.  I filled these with winter hats, gloves, and baseball caps. 


The third row contains all of our various bags, backpacks, laptop cases, and picnic items.  I had thought about hanging hooks around the wall of the closet for bags, but quickly realized we would run out of hooks.  This shelf is just the perfect size for all of our bags and the shelf height makes them easily accessible.


The final row is obviously our coats and jackets as well as our IKEA Komplement scarf hanger.


I am really happy with the outcome.  I like to take advantage of the vertical space in closets as much as possible and it worked really well to just move the closet rod up in this case.  


My mom already asked if we could reach the closet rod.  Thankfully I am just tall enough at 5’4’’ to hang any coats.  Any future vertically challenged homeowners might have to lower the rod, or get one of those handy reaching sticks they have in department stores.  I always thought it would be fun to own one of those.

Thanks for stopping by!  Hopefully as work eases up in the near future I will have time for more projects and more posts!

Monday, June 11, 2012

Housiversary Home Tour

Last night was a stormy night here in Omaha.  Every time a storm rolls through our neighborhood I cringe a little and cross my fingers.  You see, four years ago we were in the process of buying this house, and lighting struck not once but twice.  Not literally, but we had two trees fall on our house in the month between the time we made the offer on the house and the time we closed on the house June 30th.  We completely lost one large tree in the front of the house, and a large limb from the tree in back. 

On closing day, we had holes in the roof and garage along with damaged gutters, but we didn’t back out.  This house was a find, and we were willing to put up with the months of contractors and repairs to bring it back to the condition it was in when we first fell in love with it.

In honor of our upcoming Four Year Housiversary (yep, that’s what I’m calling it), I’d like to share a before and after house tour with all of you.  Welcome to the Housiversary Home Tour!

Disclaimer:  Some of you may be in the following “Before” pictures unwillingly, but due to the lack of before pictures and my lack of foresight for taking them, you have been included.

We’ll begin from the outside.  Here we are with family and friends on Moving Day 2008.  You can see the tree damage to the corner gutter by the garage.

Outside Before


And here is a straight-on shot courtesy of the Douglas County Assessor’s website 2010.

Outside During


We’ve made a few improvements outside, most notably the gutter and roof repairs, a fence around the backyard, some landscaping around the bushes and a new garage door.  There is still a lot on our to-do list out here.

Outside Now


Next we’ll move inside.  The entryway has probably seen the most paint of any room in the house.  This is the entryway before (along with my wonderful family).  It was yellow like the living room.

Entryway Before


I didn’t care for the yellow and I wanted to go bold with such a small space to make a lasting first impression, so I went with something a little more me…teal!  In the background of this picture from our wedding brunch you can see a glimpse of the teal.

Entryway During


When the living room color evolved again so did the entryway.  First I tried a deep medium gray in semi-gloss, and added some coat hooks found at Lowes.

Entryway During


It still seemed too segmented from the living room, so what better than some bold horizontal stripes of the living room color to help with the flow of the space.  Add a mirror and you’ve got yourself a spruced up entryway.

Entryway Now


The next stop on the tour is the living room.  As pictured in the previous before photos, it was yellow like the entryway.  Just look past the hungry movers and you’ll get an idea of what we started with (I warned you the before photos were questionable).

Living Room Before


When the entryway turned teal, the living room went light gray-blue.  Here’s our bare bones hand-me-down furniture filled living room on the day of our wedding brunch (about one year in).

Living Room During


Later that year we were able to afford adult furniture and brought in the piano from my parent’s house.

Living Room During


There was something not quite right with the blue.  It was well, too blue.  So the walls went gray, and I am much more pleased with the subtle neutral backdrop.

Living Room Now


From the living room we will turn to the dining room.  One thing we loved about the space was the open archway between the two spaces.

Dining Room Before


One thing we didn’t love so much…the red walls, so I opted for a mossy green instead.

Dining Room Now


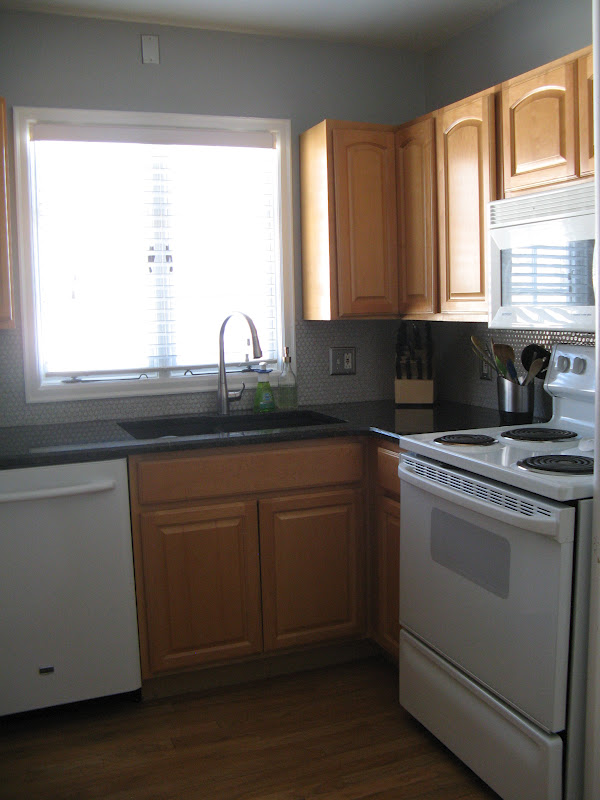
From here we’ll move into the kitchen.  Most of you are familiar with the boring beige before…

Kitchen Before


as well as the progress we’ve made so far.  One update is the recently refinished butcher block counter top, but I’ll spare you the boring details (three coats of butcher block oil and finish with sanding in between).

Kitchen Now


We’ll take a quick trip downstairs before touring the rest of the house.  The basement was one thing that sealed the deal for us.  It is very difficult to find a large, finished basement with normal ceilings and a gorgeous bathroom in this old of a house.  Like the majority of the house, it was also beige.

Basement Before


The bathroom is one of only two spaces in our house that has come away unscathed from my painting obsession.  Don’t worry…it’s on the list!  Here is what our basement currently looks like after some paint and curtains.

Basement Now


Let’s head on back upstairs for the rest of the tour.  The hallway is next on the list which was beige.  I do not have a before photo so you’ll just have to use your imagination.

Hallway Now


Let’s step on into our master bedroom.  It too was, you guessed it, beige.

Master Bedroom Before


With the addition of stripes, some curtains and a closet makeover this is our bedroom in its current state.

Master Bedroom Now


And on to the bathroom!  This room hasn’t changed too much.  The big change was a fresh coat of paint to cover the same boring beige color.  I hung the extra-long shower curtain made from IKEA curtains high above the arch to accentuate the architectural detail.  We also have a laundry chute to the basement, another deal-sealer of the house!  Again, no before pictures here so just imagine it with lots of beige and ugly mini blinds.

Main Bathroom Now


The next stop before heading upstairs is the guest bedroom/office.  Need I say it?  Beige.

Guest Bedroom Before


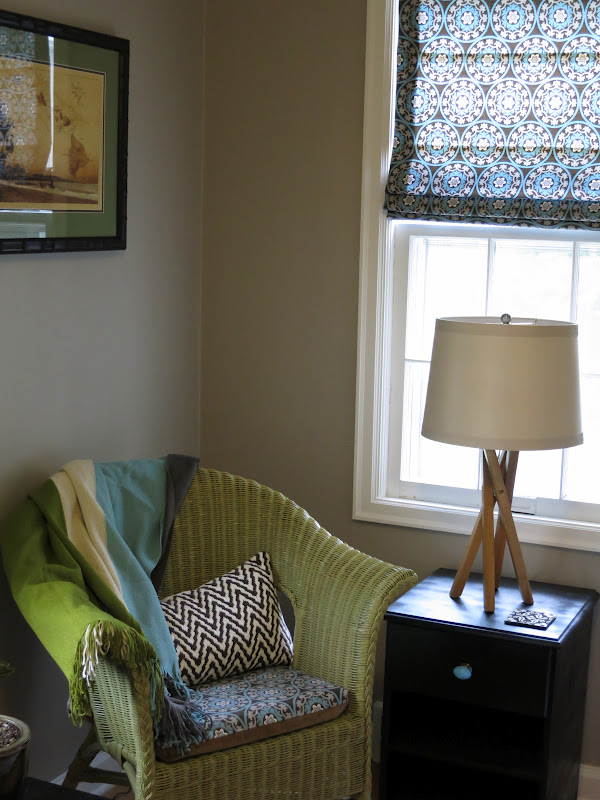
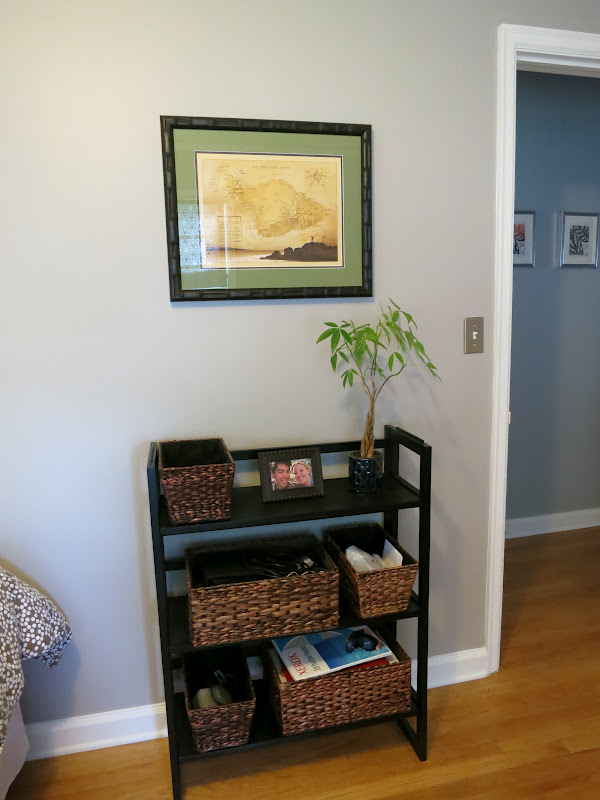
Last year we tackled the makeover of this bedroom on the cheap with a lot of DIY projects.  Here is where our guests can crash now.

Guest Bedroom Now


Heading upstairs we will stop at the only completely neglected room in the house.  It’s kind of ironic, because this room totally sold me the first time we walked through.  I thought it was charming and could be turned into a really unique space.  Maybe it still can, but here it stands collecting more and more things as time goes on.  I’ll call it the “library” since that is my intent with the space.

Library Before, During and Now


And the final stop…what I always dreamed I would have in my dream home…my craft room. It started out a little uninspiring.

Craft Room Before


With the help of a little color and some organization this space is now somewhere I can enjoy hanging out and getting my craft on.

Craft Room Now


I wanted to share this post to show everyone that it takes time (years) to decorate a house.  Rather than having “Before and After” photos, I opted for “Before and Now”.  I feel our rooms are ever-evolving, and to the dismay of my husband, never quite complete.  As you may remember from this post, I still have a lot of plans for our home. 

So here ends the Housiversary Home Tour.  I can truly say I love the house even more today than the day we first stepped foot in it.  It has been a labor of love, and I have had so much fun making it our own.  I can’t wait to see how it continues to transform over the next year!