
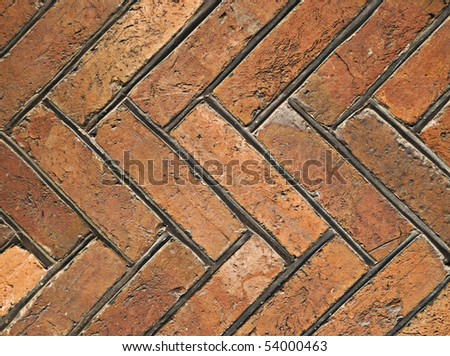
As hinted in a previous post, I am in love with herringbone. So what is this herringbone I speak of? It’s a pattern that resembles the skeleton of a herring fish, which is commonly found in suiting materials as pictured below. It is also a classic way of laying bricks or wood floors.

http://www.seducingwithstyle.com/wp-content/uploads/2010/12/herringbone-pattern.jpg

http://bedzine.com/blog/wp-content/uploads/2008/10/fre_01657_2.jpg
Herringbone is classy, intricate, but yet still simplistic in the overall design.
Since a lot of our kitchen will end up being white (appliances and cabinets) I wanted to add a punchy pattern to at least one wall of our kitchen and I had been eying stencils on this website.
The prices were a little more than I wanted to spend on just the stencil alone, so I kept looking. Then I came across some inspirational photos on Pinterest (imagine that!).

http://media-cdn.pinterest.com/upload/31877109832205838_iFd8x9ya_c.jpg

http://media-cdn.pinterest.com/upload/205476801718264351_RB1RkULb_c.jpg
I realized I could make my beloved herringbone pattern with simple painter’s tape and a level.
Immediately after finishing the grouting I dug up several old cans of paint from previous projects. I knew I wanted to go with neutrals since the pattern would be bold enough to stand on its own, and boy do I have a lot of gray paint lying around. I settled on three colors…Gull (medium gray, living room color), Willow Spring (light almost white gray, used in our bedroom), and Pasture Gate (muddy gray, used in entryway and in basement). It was nice to be able to tie together the neutral colors from several rooms throughout the house.
After selecting the three colors for the design I painted “samples” (very rough samples mind you) to see what combination I wanted.

Upon consulting my dear husband we decided on…

I started by painting the walls the lightest shade (Willow Springs) in a satin finish. We decided that this color would also become the cabinet and trim color, only we’ll use a semi-gloss finish for the wood.

After painting the wall, the trim and the ceiling (also in the satin Willow Springs), I started taping. The only tools I needed were painter’s tape (Frog 1 inch painter’s tape), a level/ruler, a pencil and a step ladder. I also made a template of the parallelogram (oh geometry) to help mark tight areas.

I taped vertical stripes 12 inches apart, and also taped off the trim and ceiling. I just used the level to align the tape, no pencil marks on the paint that way.

After taping the vertical stripes I came back with the pencil and level/ruler to mark every 6 inches all the way up the tape starting at the baseboards. I then taped at angles from the line on one strip to the line 6inches either higher or lower on the adjacent strip.


(Winston worries when I’m up higher than usual)
I gradually worked my way across the wall.


I got anxious before finishing taping the entire wall and started painting, first with the medium gray…

Then with the darker gray.

It took two coats of paint to cover completely and many, many evenings of taping, but I think the results are completely worth it!


The rest of the walls were painted Gull, the medium gray.


It’s a huge relief to have this part of the painting done, and I think this gives our kitchen a modern yet slightly vintage-y feel with the classic herringbone pattern. I intended to paint each of the walls herringbone, but after a week of taping and painting I had had enough! Also, I think it would have been overkill.
Hopefully our kitchen will be back to normal soon so our dining and living rooms won’t look like this for too much longer. Oh the chaos of remodels!

That looks so great!
ReplyDeleteI'm in awe - that's one super-amazing wall! And I noticed the grid detail on your doors - love that! Doing the herringbone design on just one wall is perfect. It really stands out as something special :-)
ReplyDeleteKelly
Love it!! Great job!!
ReplyDeleteThanks! I can't take credit for the doors, they're original to our 1941 house. I am determined to duplicate them in whatever house we move to in the future :)
ReplyDeleteThose are the original doors!? Wow! Sooooooo much better than the doors in houses built today.
DeleteKelly
I love this wall! I just used it as an inspiration for a large canvas I painted. I referred to your blog in my post - I used the same measurements that you did and it turned out great! I'd love if you would check out my version of the herringbone pattern. Thanks for the inspiration! Sarah
ReplyDelete